
A Complete, Step-by-step Guide to Making a Perfect Pom-Pom Satin Ribbon Bow
Materials Needed
-
3 meters of sparkle satin or polyester satin ribbon (15mm or 25mm width)
-
15 cm piece of narrow string or 3mm satin ribbon (for tying)
-
Sharp fabric scissors
-
(Optional) A piece of sturdy cardboard (roughly 10cm wide) to use as a wrapping template. Our demonstration is simply making loops by hand.
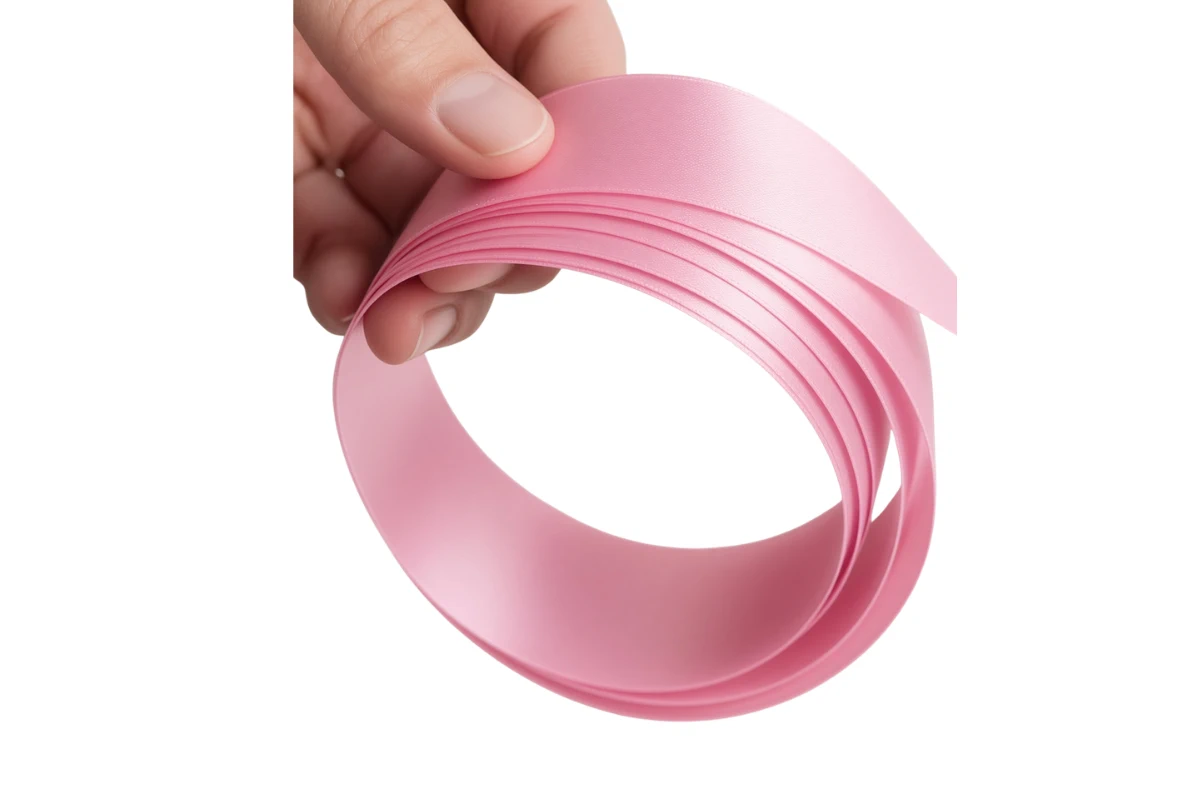
Step 1
Wrap the Ribbon into Loops
Take one end of your 3-meter satin ribbon (ensuring the shiny side stays facing out). Wrap the entire length of the ribbon loosely around the palm of your hand (or around a cardboard template) in neat, overlapping loops.
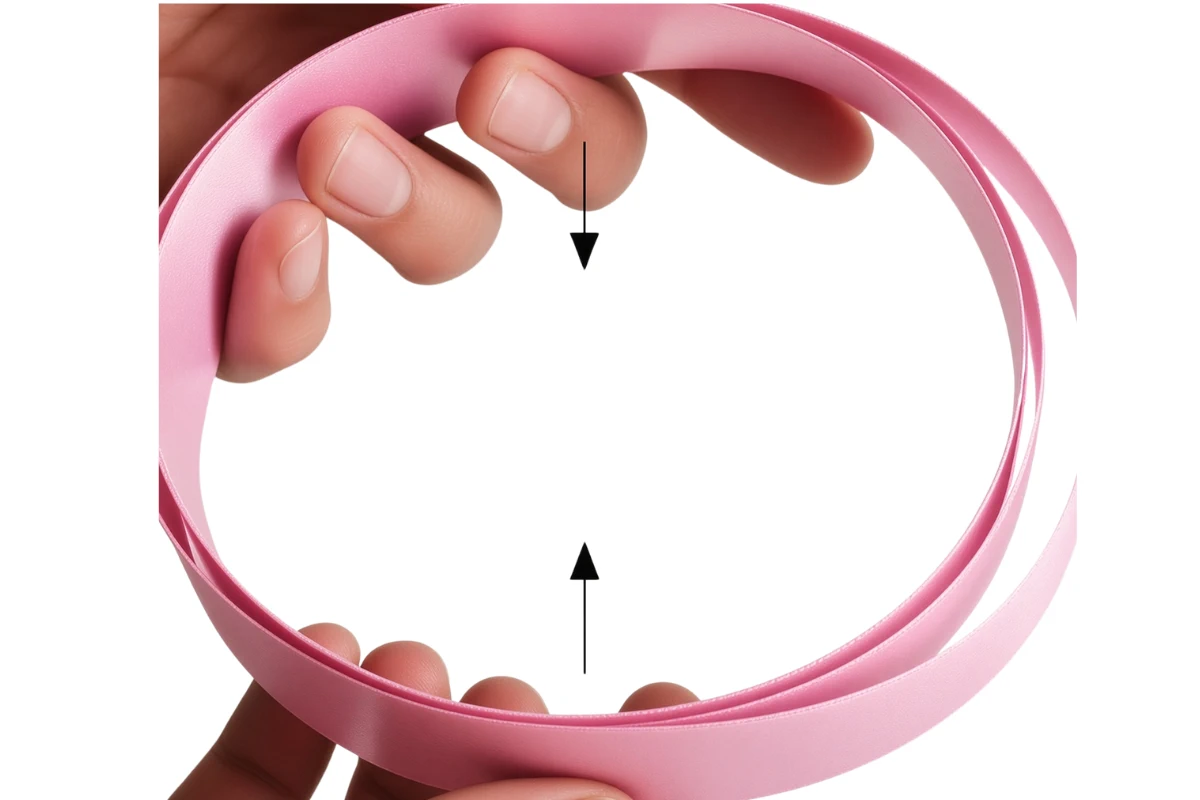
Step 2
Secure & Remove the Loops
Gently slip the wrapped loop bundle off your hand (or cardboard template), taking care to keep the folds flat and stacked neatly together.
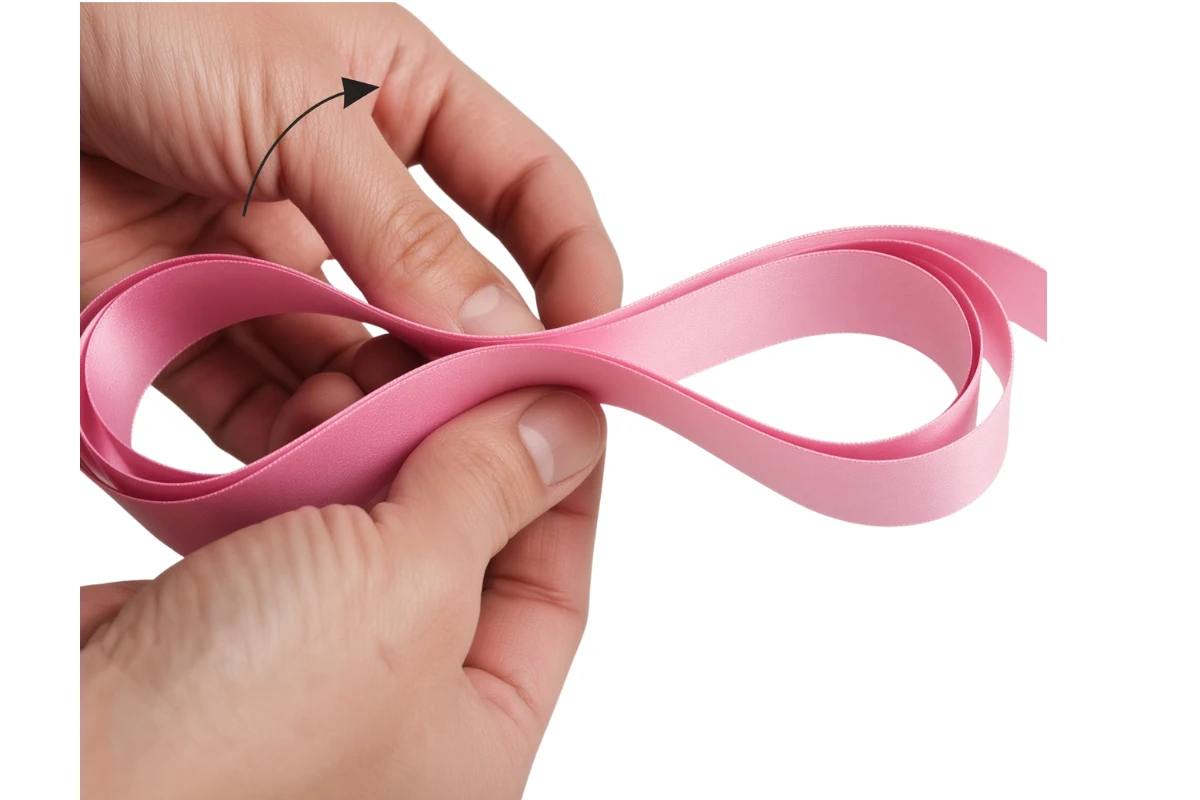
Press the loops Together
Hold the flattened loop bundle firmly in your hand and move your fingers to hold the loops with only the top 15% showing. (we are going to make cuts there.
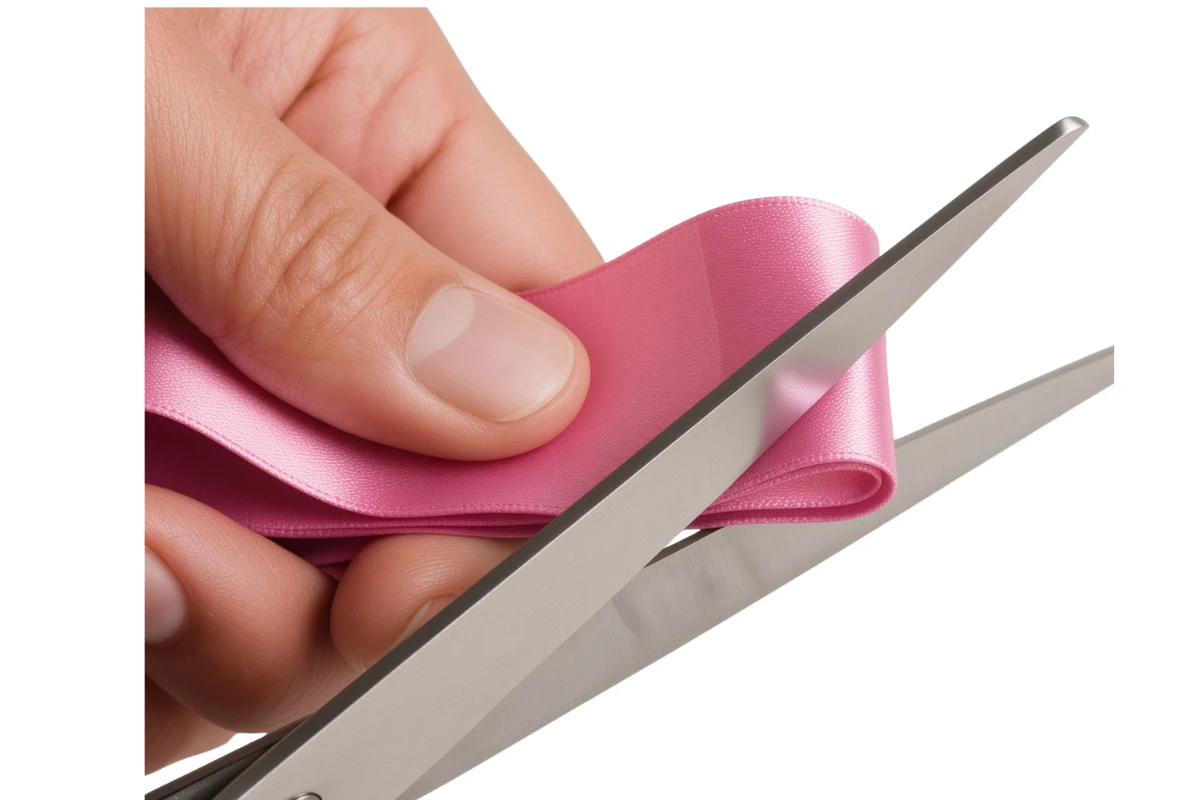
Notch both sides
Hold the flattened loop bundle firmly. Using your scissors, snip triangular notches into both the top edge and bottom edge at the end you are cutting.
Important: Leave about 5mm to 1cm of ribbon uncut in the exact centre so the loops stay connected, creating an hourglass shape.
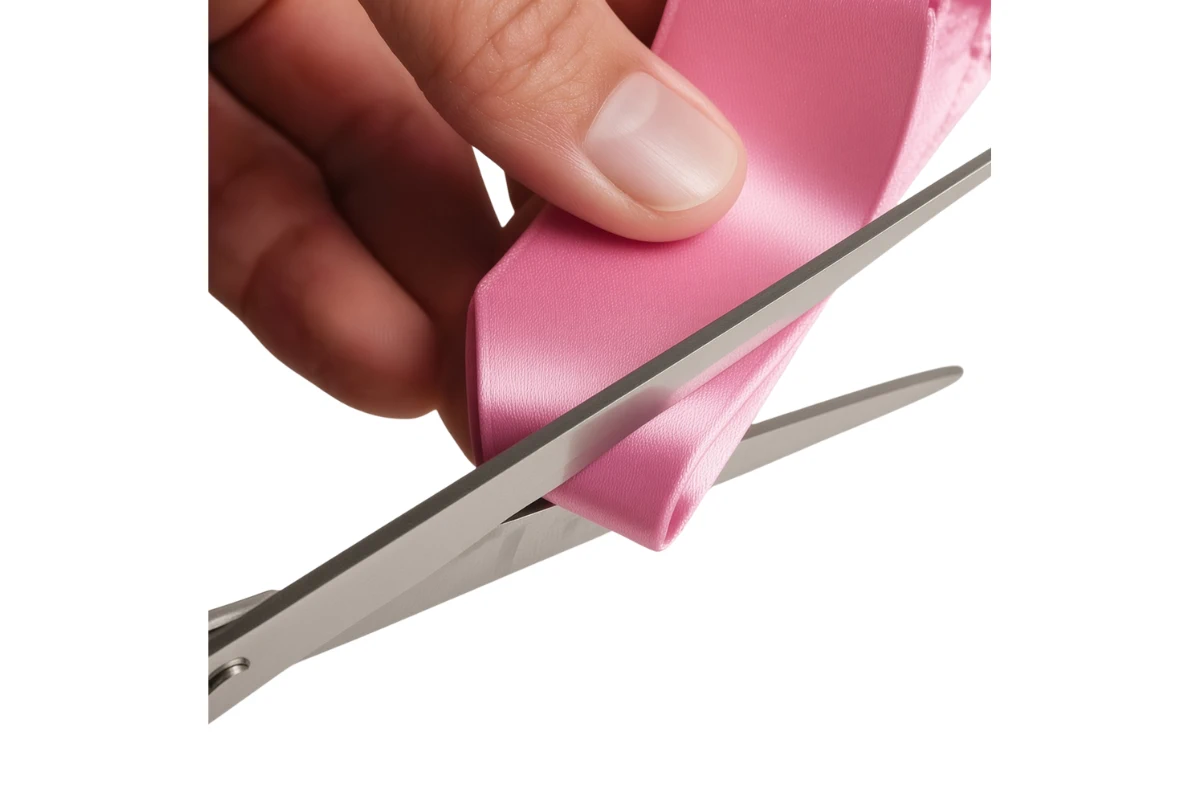
Notch both sides Opposite Side
Now do the same for the other end. Once both ends are cut, open the complete loop of the ribbon and position the triangles one side on top of another to form two notches in the middle. Line the two hour-glass shaped notches up.

Tie the Centre Tight
Wrap your 15cm piece of narrow 3mm ribbon or string around the notched hourglass centre. Pull it nice and tight and tie a secure double knot. Make sure the knot will hold the ribbon while it is being tugged on (lightly).

Pull & Twist the Loops
Hold the tied centre in one hand.
Reach inside the loop bundle, and grab the innermost loop, first pull it outward from the centre, and then give it a slight twist toward you.

Pull and Twist the Loops
Alternate sides—pull the next loop to the opposite direction and twist.
Repeat until every loop on both sides has been pulled out and separated.

Fluff & Adjust the Pom-Pom
Once all loops are separated, use your fingertips to gently open and fluff each loop, arranging them evenly into a full, rounded pom-pom sphere. Turn the bow over to the flat side, and repeat the process.

Snip the Tails
Snip off or decorate with V cuts the remaining long tail pieces,
If there is any.
All done!
Bonus tips: Flatten the one side, and place a 2cm double sided tape on the flat back side, to create an easy to apply instant bow to wrapped gifts. Always carry the gifts with the bow open, as it will flatten when carried in a bag.
Learn More
Ready to get started?
online shop articles
Ready to get your order started?
View our Petersham ribbon range here .
Looking for other specialty ribbons?
Explore our full range of grosgrain, satin and decorative options with nationwide delivery across South Africa.